How to put new grout on top of old grout?
How to put new grout on top of old grout?
We discussed the subject with the technical team about grouting on top of old grout.
Let's start our fact-checking based on an important question that is, What is grout, and why it is so important when you are making your home or commercial project?
Grout is one of the most essential products you need when you are making your flooring, bathroom, kitchen, or walls it is as important as the tile and stone itself which can be a pillar in your design concept.
Grout comes with a wide characteristic and colour to meet your design and functional requirements. You can read about the type of tile grout here.
Why do you need to Re-grout your tiles:
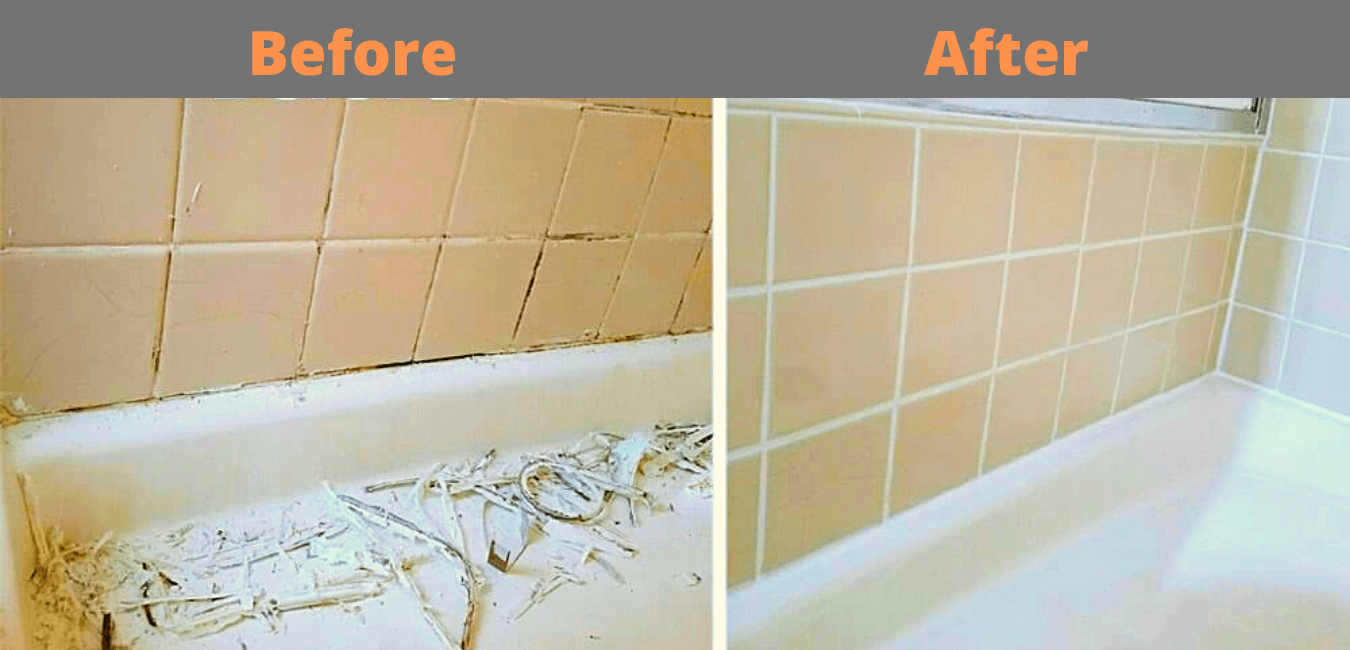
Over a while and with rigorous use, grout starts losing few features and becomes dirty, grungy, cracks, and missing grout line at few places. Grungy grout is ugly to look at and can lead to serious problems if water or grit is allowed to sink between the joints of the tile that the grout seals
Note: Grouts are a very tough material it takes a long time to see deterioration in the grout lines.
Grouting tools needed:
Grout saw - A Oscillating tool with a grout removal blade is one of the best options.
A grout saw with a grout grabber blade is ideal for removing hard grout like sanded or epoxy grouts.
Vacuum: Vacuum to remove any kind of dirt or small debris.
Sponge: To wipe clean the floor before and after the re-grouting.
Grout: New grout product to replace the old one.
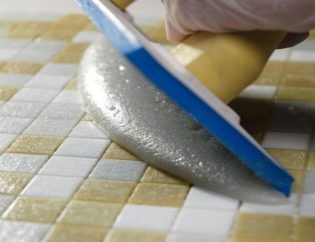
Grout float: Grout float is needed to spread the grout paste uniformly on the surface.
Clean cloth: To clean the surface and tool.
Grout sealer: Grout sealer is required in case you need to put additional protection on few sanded grouts which need additional sealing.
Utility knife or scissors: It's a must for any job.
Advantages of Re-Grouting:
Putting new grout on top of old & dysfunctional grout can elevate the look and make it more functional.
New grout will make sure the water-resistant and chemical-resistant characteristics play a key role in protecting your homes from impervious and impurities.
The best way to make sure your floor and tiles remain intact and durable is to make the right choice while selecting the grout. Epoxy grout would be the best choice keeping in mind the long list of feature it offers.
Surface Preparation for Re-Grouting:
To make sure you get everything right we recommend not to apply fresh grout on top of old grout without performing few necessary steps.
To do this, you need to use the grout saw or grout grabber to strike out the old grout & make sure the depth is at least 1/8 inch of grout or more if possible in certain areas.
Ensure that joints are clean and free from all foreign material such as oil, grease, dust, etc. In case the dust or cement particles are stuck inside the joint, use a vacuum cleaner or blower to remove the same.
In case working in an external area under the sun, avoid applying grout on a hot surface and in a joint. First, let cool the surface of tiles or stone and don’t work under direct sun. A hot surface may compromise the final performance of grout.
In case the surface of tiles or stone are absorbent, then before starting the application, first apply the grout in a small test patch area. In case of discolouration of the surface, consult Wallnut technical representative, and stop the application.
In case tiles or stone are rustic by nature and having uneven surfaces, There is a possibility that grout residue may remain on the surface and difficult to fully clean.
In this case, better not to apply grout on the entire surface area. Also, if needed, edges of tiles or stone can be masked by applying suitable masking tape and can be removed post-cleaning of grouts.
Before applying the grout on the overall surface of tiles or stone, test the small area for any discolouration due to absorbency in the tiles or stone surface.
In case tiles or stone surface is rough or uneven, it is advisable to apply the grout only in the
joints and not on the entire surface of the tiles or stone to avoid cleaning issue. (A good masking tape also can be used if needed on the edges.)
Spread the grout evenly on the surface of tiles or stone to cover the area. Once the grout is spread, fill the joint using rubber grout float. Keep the rubber float diagonally to the joint and apply a 45-degree angle to have a perfect filling.
Once all the joints are filled properly, remove excess grout if any from the surface of tiles or stone.
To achieve a flush joint, leave the grout approx. 15 to 45 minutes (Depends on temperature) in the joints. (Immediate cleaning of grout is possible, but it may lead to un-even grout surface finish).
Start cleaning the grout with clean water and a medium density sponge in a circular motion all over the joints. Finish the joint smoothly and evenly. (Change the water twice or more to have proper cleaning of the surface).
The sponge cleaning will ensure the grout leaves a smooth and glossy finish at the joints.
There may be a white haze that appeared on the grout joints at the time of cleaning. This is not discolouration and the haze will disappear shortly after cleaning.
Leave the grout for 24 hrs. to dry and fully set. Protect the area for any possible stain on fresh grout due to the movement of dust.
After 24 hrs. the tile surface can be cleaned with soap water to remove any haze that remained at the top.

