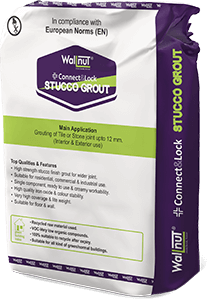
Cement base grout CG 2 for wide joint for rustic stone and wide joint applications — delivers a natural, earthy aesthetic for rustic tiles, large format stone and applications requiring a textured joint finish.
What Makes Stucco Grout
Stand Out
Textured cement grout for rustic stone and wide joint applications — delivers a natural, earthy aesthetic for rustic tiles, large format stone and applications requiring a textured joint finish.
Delivers a textured, natural appearance that complements rustic stone, brick-effect tiles and natural stone installations.
Formulated for joint widths from 5mm to 20mm — handles wide joints typical of natural stone, slate and terracotta.
Textured surface finish mimics traditional lime mortar joints — perfect for rustic and natural design styles.
Suitable for use with natural stone, sandstone, slate, terracotta and all rustic tile formats.
Despite its textured appearance, Stucco achieves high compressive strength — durable in floor and wall applications.
Suitable for exterior applications — weather-resistant when cured for outdoor courtyard and patio areas.
Colour range focused on natural earth tones — greys, buffs, terracottas and sands.
Stucco applies and handles like a standard cement grout — no special technique required.
Technologies
Natural textured joint appearance for rustic and stone projects
Handles 5–20mm joint widths typical of natural stone
Complements stone, brick-effect and terracotta tiles
Weather-resistant for sheltered external applications
Where Stucco Grout Performs
Sandstone, limestone, slate, quartzite and natural stone floors
Wide joint grouting for brick-effect ceramic and porcelain tiles
Traditional terracotta floor tiles with wide joints
Rustic-style interior design applications
Outdoor courtyard, patio and landscape tile applications
Heritage building restoration and sympathetic new-build projects
How to Use Stucco Grout
- Tiles must be fully set — minimum 24 hours
- Clean joints of all adhesive and contamination
- Joint width: 5–20mm, depth minimum 2/3 tile thickness
- Pre-wet absorbent natural stone tiles before grouting
- Add Stucco powder to clean water
- Mix to stiffer consistency than standard grout — W/P ratio ~0.25
- Lump-free but slightly stiffer for best joint appearance
- Use within 1–2 hours of mixing
- Apply with rubber grout float or pointing trowel
- For deep wide joints, pack in stages if required
- Clean excess from tile face with damp sponge
- Do not over-clean — gentle removal preserves the textured finish
- Allow grout to set partially — 30–60 minutes
- Lightly brush joint surface with a stiff brush to develop texture
- Alternatively, leave flat for a rustic stucco look
- Avoid excessive disturbance after application
- Protect from rain and frost for minimum 24 hours
- Light foot traffic after 24 hours
- Full strength at 28 days
- Do not seal natural stone for minimum 28 days
Ideal working temperature +5°C to +35°C. Avoid direct sunlight and extreme temperatures during application.
Always ensure the substrate is clean, dry and structurally sound before application.
Lift a tile to verify adhesive coverage — minimum 65% floor, 80% exterior and wet areas.
Mix only what can be used within the pot life. Do not add water to extend working time.
Do not over-clean immediately after application — the textured finish is developed in the partially-set state. Excessive water removal will flatten the texture.
Technical Data
Coverage varies with substrate condition, tile format and application method. Use our Product Calculator for exact estimates per project.
🧮 Open Calculator →More from Connect & Lock
 Standard
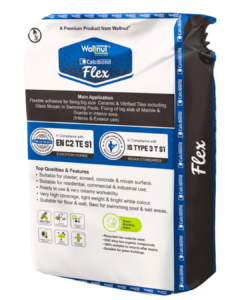 Adhesive
Lay natural stone with Calcibond Flex S1 flexible adhesive
View Product → Cleaner
Ready to Build
with the Best?
Download the Technical Data Sheet, use our product calculator, or speak to our technical team for project-specific advice.