How to lay tiles
Two very important decision is always taken with utmost planning while in the early stage of renovating your home or starting a completely new project that’s flooring and Walls. The floor and walls have to go through so much that they need more attention to details.
Most people feel retiling is a dreadful option as they need to completely remove the tiles from the floors resulting in huge expenses. However, it’s not the only option if you have to change the floor next option in line might be the right solution, Laying the tile over tiles. We would like to cover as much as possible about the process of re-tiling and making the best of its old tile floor.
The process of retiling over tiles is very similar to a new installation of flooring the principle steps remain the same which we can go into details later.
Let us get to the very first step.
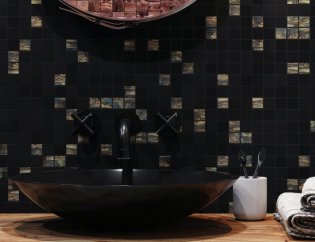
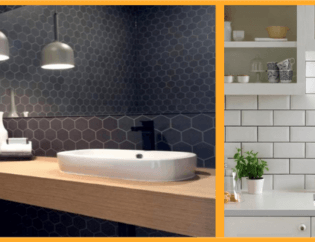
Selecting right flooring design:
The Floor plays a very precise role in the design of your house. You need to understand what do you want the end result to look like, few years back it was a little difficult to see how the flooring and other interiors of your home or office will look in realtime.
In today’s available technologies in hand and building material industry effort to make the user experience more advanced and realistic. There are so many apps available for Flooring Design, Tile calculator, 3rd simulation of your home this makes your job a lot easier.
Now let dive into the first question which comes to mind
Can you lay tiles over old tile installation? This shouldn’t be difficult to answer! Yes, you can.
The best way to determine if it’s possible to install tile over tile is by checking the strength & quality of your floor. You should first check the old floors to see if hear any hollow sound or see the uneven surface, inspect for the damages which can be addressed before the installation process.
See if the previous installation is not in a degraded state and can hold it, you will get the feeling once you see and feel firsthand inspection of your floor. If the answer is yes then you can go ahead with retiling option with certainty. It will be a lot easier than removing steady floors and spending more money.
Tiling over Tiles Step by Step guide.
We have organized the list of necessary tools and materials needed by you for a smooth and seamless tiling experience and the perfect floor for your dream home. Easily available items should not be too hard for you to find 🙂
How to lay tiles over tile ?
1) Tools and Materials for Tiling
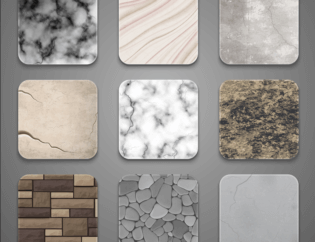
- New tiles (newly selected tiles for the floor)
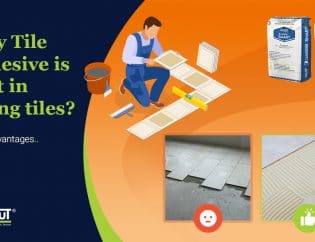
- Tiling adhesive
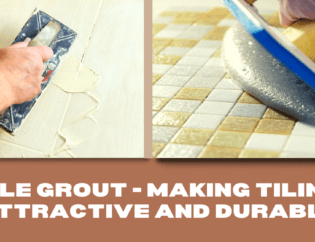
- Grout – select grout as per the area-specific features refer here
- Trowel: Notched trowel will be the right choice.
- Float (for grouting)
- Cutting tool (either a wet saw or scoring snap cutter)
- Spacers
- Sponges
- Tape
- Utility knife
- Buckets
2) Surface Preparation:
Once you have gathered all the tools now it’s time to start preparing the surface. You need to graze the floor with heavy sandpaper or electric cleaner to give tile adhesive the maximum adhesion.
Floor scuffing is necessary for roughness on the old floor. Now clean the floor with harsh detergent, chemicals and get it ready for the next process. If you are not 100% confident you can complete the entire process you can hire a professional tile applicator for the project.
3) Dry Tile Setting:
Once you are ready with all the previous steps it’s time to take the test run the dry tile settings. If you follow this step it will give you seamless perfection in floor installation. You can change the last-minute arrangement and tile setting if anything changes last minute.
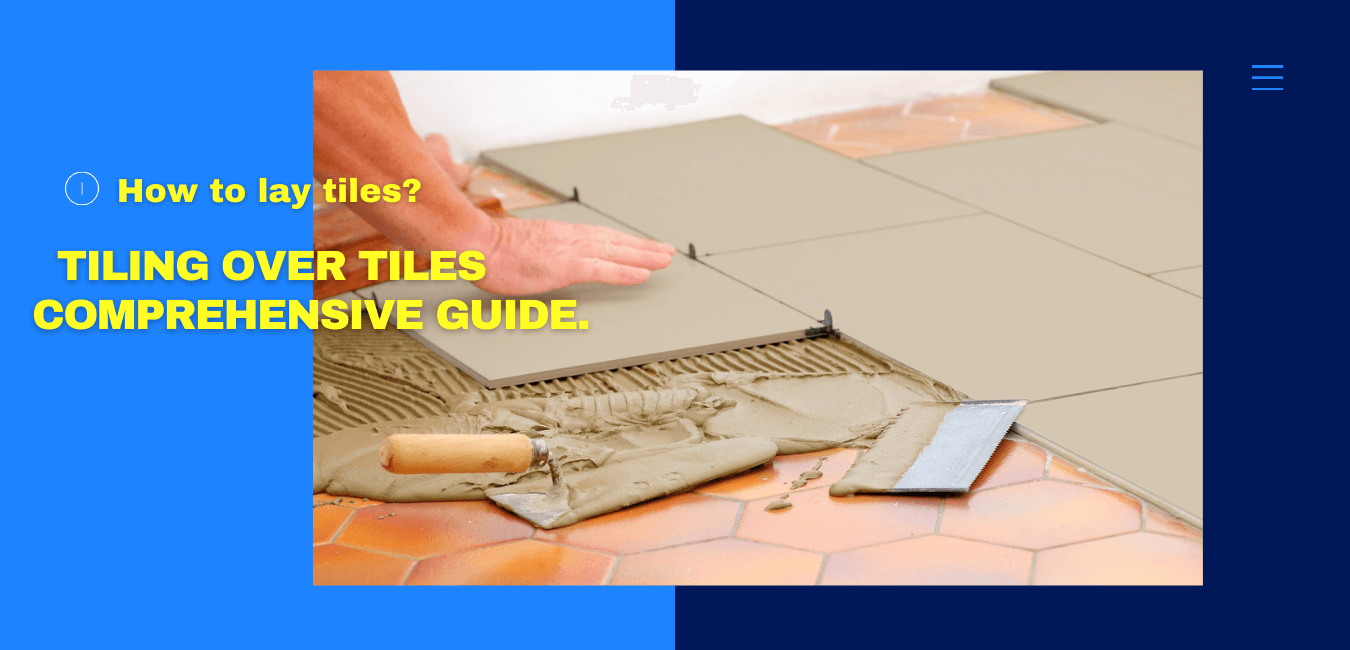
4) Tile adhesive :
To know the process follow the above video, How to lay tiles?
There is a vast number of tile and stone adhesive available in the market. You need to understand about different tile adhesives, functions, and features they provide. If you want to know more about tile adhesive please refer here. The right idea is to use the adhesive suitable with chosen tiles.
Most of the tile adhesive comes in powder and paste forms.
Follow the instruction of the manufacturer to make the paste ready to use.
The Electronic mixer or spatula comes in handy in mixing tile adhesive and grouts. Once the adhesive paste is ready to use it’s time we get our notched trowel out and spread the adhesive on an old tile floor. You need to make sure the trowel stroke is in a singular direction and in a parallel line to achieve maximum adhesion.
5) Fixing the new tiles:

Once you have covered some portion of the old surface with adhesive take new tiles and put some paste on its backside and start pressing on the surface.
While fixing the tiles make sure you are using the tile spacer for perfect gap and even flooring. Once the tiles are fixed with the spacer it’s time to leave the installation for at least 24 hours or refers to the instruction for the product manufacturer.
Make sure the floor remains untouched and strictly prohibited for foot traffic the setting period is crucial for the adhesive to take a perfect grip with the substrate.
6) Grouting the surface:
During this step, you need to know more about grout. There is a lot to understand with different grouting materials and decorative material to know more refer.
Once the drying period is over now you can see the new floor how its feels. Grout comes in a lot of color shades make sure to choose one which fits right with your designs. The grout comes with different characteristics such as water-resistant, chemical resistant, anti-fungal & thermal shock resistant. This feature gives your floor long-lasting strength and durability.
Uncover the elegance of Rolex Daytona 35mm watches, leaders in the online watch market https://superclonerolex.io/ .
Epoxy grout has almost all the features in a single packing. The grouting is a simple process follow the manufacturer’s instruction for mixing and getting the paste ready for use.
Remove all tile spacers from the floor. Now use the rubber float to apply the grouts. You need to start filling all the gaps with the grout paste. The grout set really quick so it is recommended to work in smaller sections. You need to use the sponge to clean any access grout on the tile surface before its sets or leaves stains.
7) Cleaning:
As stated earlier grout sets really fast so after 30 mins or refers manufacturer guidelines, you need to start cleaning the surface with a sponge and clean water. You can use clean chemicals for the surface once you are done leave the surface alone for some more time.
You are all set to enjoy your newly done flooring.
I hope to hear from you about the topic How to lay tiles over tile floor.. if you have any questions leave them in the comment section. Will try to answer as soon as we can.