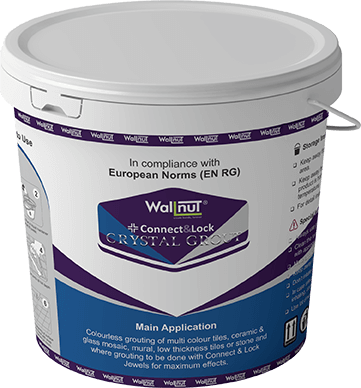
Crystal-clear epoxy grout — specifically formulated for glass mosaic tiles where a transparent grout joint is required to maintain the visual effect and reflectivity of the glass.
What Makes Crystal Grout
Stand Out
Crystal-clear epoxy grout — specifically formulated for glass mosaic tiles where a transparent grout joint is required to maintain the visual effect and reflectivity of the glass.
Achieves a genuinely transparent, water-clear joint — maintains the visual transparency and reflectivity of glass mosaic tiles.
Two-part epoxy base provides zero water absorption, stain resistance and chemical resistance in a clear format.
Specifically developed for glass mosaic tiles — standard coloured grouts can appear behind glass and ruin the visual effect.
Clear grout allows the full beauty of glass tiles to show — no opaque joint lines breaking up the visual pattern.
Epoxy chemistry means joints are non-porous — permanent stain resistance even in clear joints.
Fully waterproof grout joints suitable for showers, feature walls and pool areas with glass mosaic.
Works with all glass mosaic tiles, clear resin tiles, backlit tiles where transparency is required.
Precise resin-hardener mix ensures consistent clarity and performance in every application.
Technologies
Achieves genuine transparency — no colour distortion in glass joints
Zero porosity and stain resistance in a crystal clear format
Only grout designed specifically for glass mosaic applications
Epoxy chemistry prevents staining and water penetration
Where Crystal Grout Performs
Feature walls and accent areas with glass mosaic tiles
Swimming pool and water feature glass mosaic grouting
Shower enclosures with glass tiles — clear joints maintain effect
Backlit tile installations where light transmission is required
High-end residential and hospitality glass feature installations
Resin-based transparent or translucent tile products
How to Use Crystal Grout
- Glass tiles must be fully set — minimum 24 hours adhesive cure
- Clean all joints — remove all traces of adhesive and contamination
- Joint width: 1–3mm typical for glass mosaic
- Dry joints thoroughly — moisture will cloud the clear epoxy
- Combine Part A and Part B in exact stated ratio
- Mix thoroughly — 3 minutes minimum with slow stirrer
- Mix until completely uniform — any streaks indicate incomplete mixing
- Work in small batches appropriate to pot life
- Apply with rubber float, pressing firmly into joints
- Work quickly and cleanly — smearing on glass face requires more effort to remove
- Use minimum material on tile face — clean as you go
- Work in small sections suited to working time
- Clean glass tile surface immediately after grouting — within 5 minutes
- Use damp sponge with clean water — rinse sponge frequently
- Haze on glass is very visible — clean thoroughly before epoxy hardens
- For any remaining haze, use ZeoClean Max carefully
- Avoid wetting for minimum 24 hours
- Full clarity and performance at 7 days cure
- Temperature minimum 15°C during application and curing
- Protect from direct sunlight during initial cure
Ideal working temperature +5°C to +35°C. Avoid direct sunlight and extreme temperatures during application.
Always ensure the substrate is clean, dry and structurally sound before application.
Lift a tile to verify adhesive coverage — minimum 65% floor, 80% exterior and wet areas.
Mix only what can be used within the pot life. Do not add water to extend working time.
Dry joints completely before application — any moisture causes cloudiness. Clean glass tile face immediately — epoxy haze on glass is very visible and harder to remove.
Technical Data
Coverage varies with substrate condition, tile format and application method. Use our Product Calculator for exact estimates per project.
🧮 Open Calculator →More from Connect & Lock
 Premium
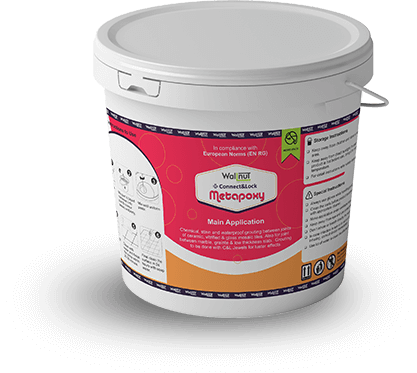
Metapoxy 2K for coloured crystal glass bead finish in 23 colours
View Product →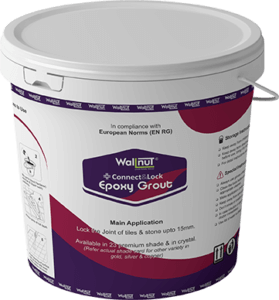 Epoxy
EpoxyStandard 3-part epoxy grout for coloured applications
View Product →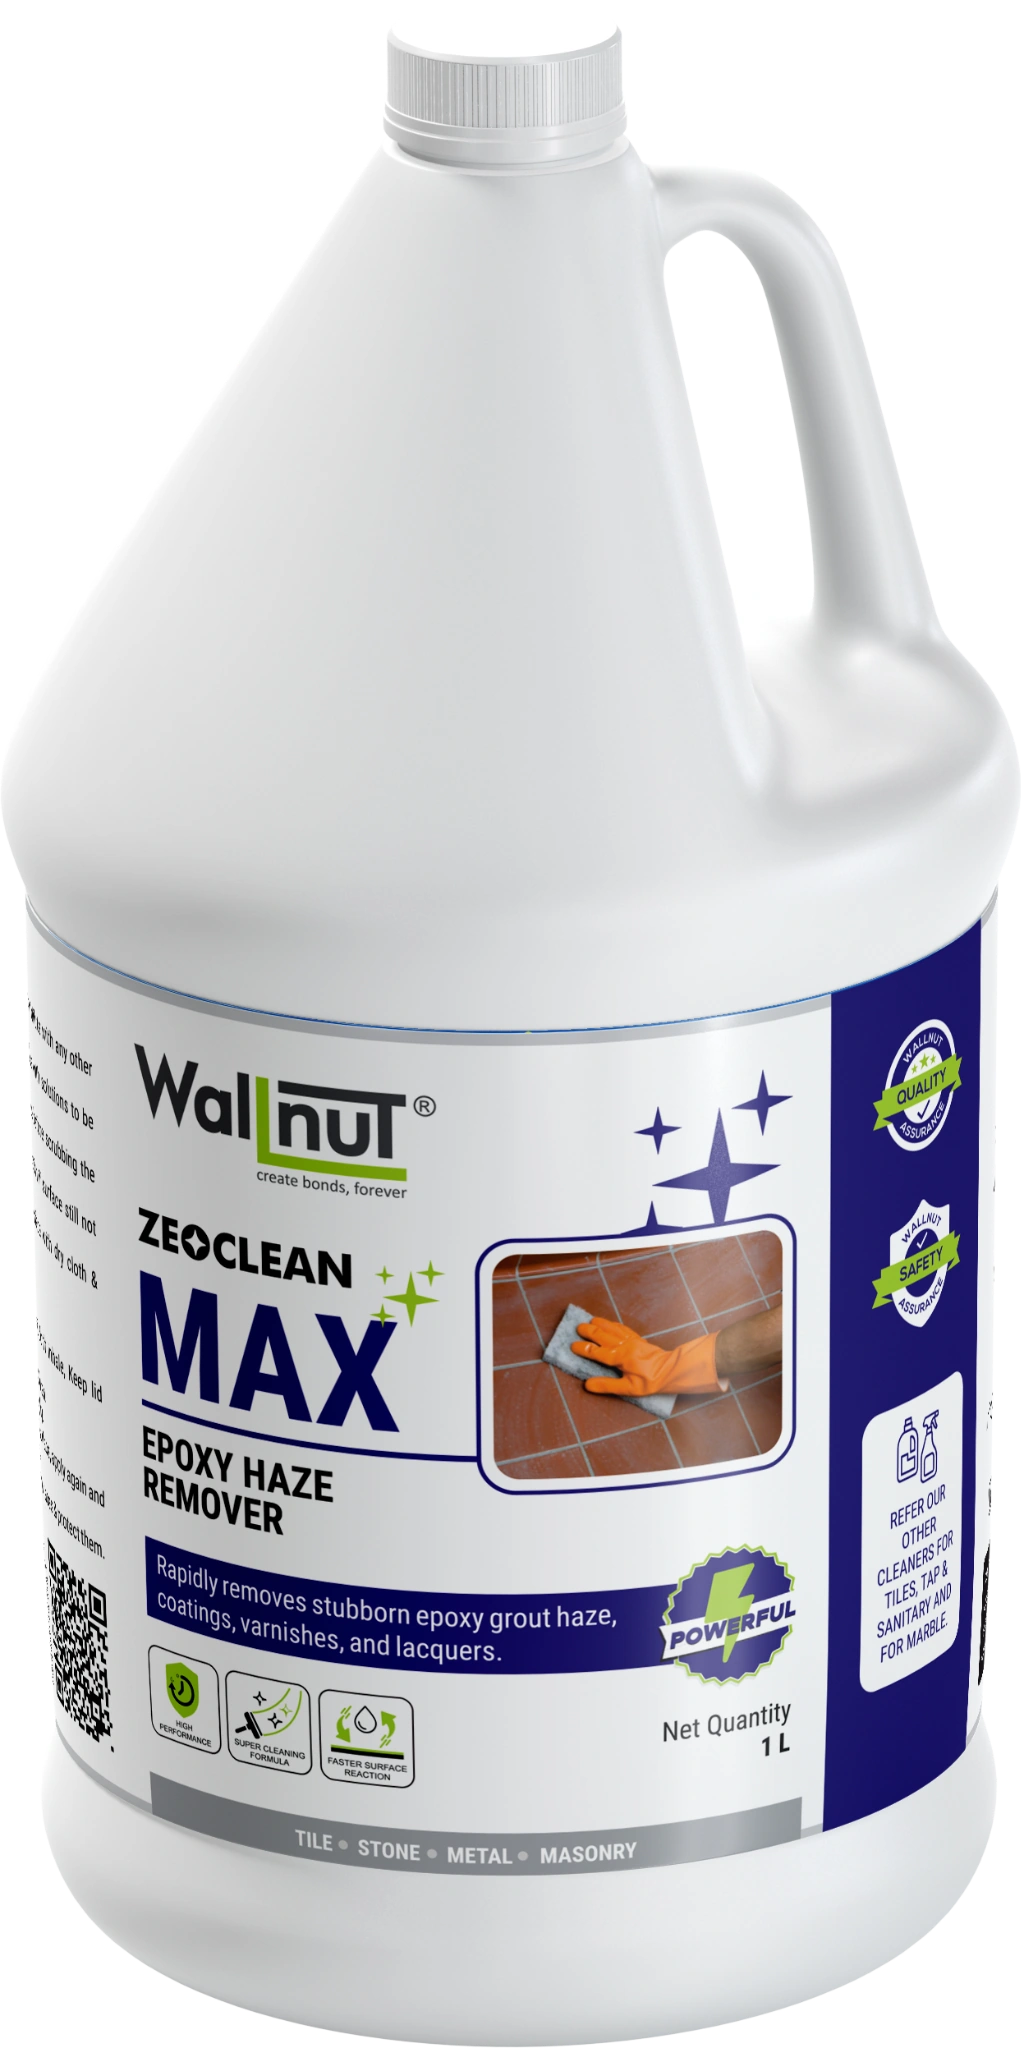 Cleaner
Remove epoxy haze from glass tile surfaces with Zeoclean Max
View Product →Ready to Build
with the Best?
Download the Technical Data Sheet, use our product calculator, or speak to our technical team for project-specific advice.